You’ve got the latest and greatest dropsaw with the sharpest blade but is that enough to get the perfect mitre? We’ll look at the way to get them like the pros and our secret weapon is P.V.A. glue. Yes this cheap little product along with some fine sandpaper will get you into the top ranks.
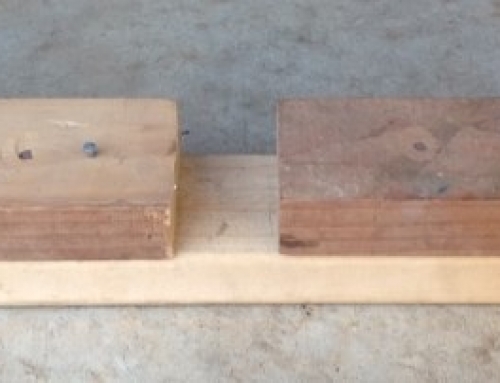
Once you have nailed off one side and are ready to fit the next side you need to run a bead of glue along the face of the mitre. You can now nail off this next side and wipe any excess glue from the face of the joint. This next step can only be done with 19mm thick architraves. Get a fine nail and hammer it through the outside thickest edge, through the mitre and into the other architrave. This helps close up any gaps and also keeps the joint nice and tight while the glue goes off.
Get your mini step ladder so you are at the same height as the mitre, then give it a sand across the joint. This serves two purposes as it fills any gaps that are in the joint and any unevenness in the face of the joint can be sanded to level. The sandings bonds with the glue to act like a putty and fills the gap nicely and the glue stops the joint from opening up in the future. Once it is painted you will never know that there were any gaps.